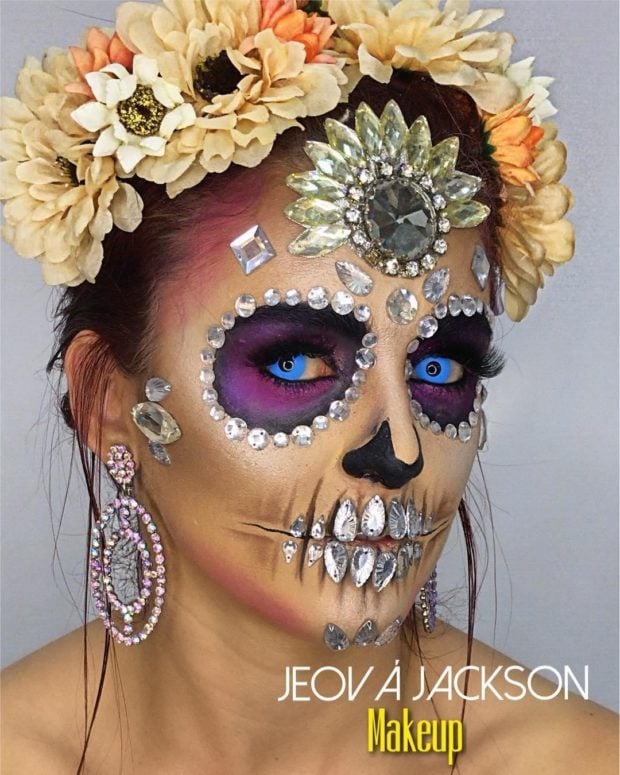
The beautiful sugar skull makeup represents the decorated celebrations that rock the Mexican holiday. You might have heard about these words in Instagram or Pinterest: they are colourful, girlish, and painstakingly complicated.
Think it might be too challenging for the first timers to create? Think again. Get your most preferred makeup and get ready for the great day of the dead, because we are here to break down the steps of creating a beautiful sugar skull makeup to make the entire process easy for you. Browse down to learn everything with your ghoul self.
1.The Base
A smooth, even base shade is crucial. Without it, you risk getting a poor finish or, worst a makeup meltdown. To start, grind a bright white foundation stick on your face. Then tone it out using a kabuki brush. It is all right if the cream is slightly sheer. It is not easy to get a sleek look using a thicker product.
2.The Base
Next step is layering a white powder over the base by a kabuki brush. Tap the powder, and then apply it gently on the skin in a circular motion. This accentuates the shade and aid in keeping it in place.
3.The Eyes
Apply bright gunmetal grey eyeshadow on your lids. Then fluff it out with a blending brush to mix a matte grey hue from the crease all the way up to the brow. Doing so diffuses the shadow edges and gives the eyes a more prominent look, creating a ghoulie eye-socket effect.
4.The Eyes
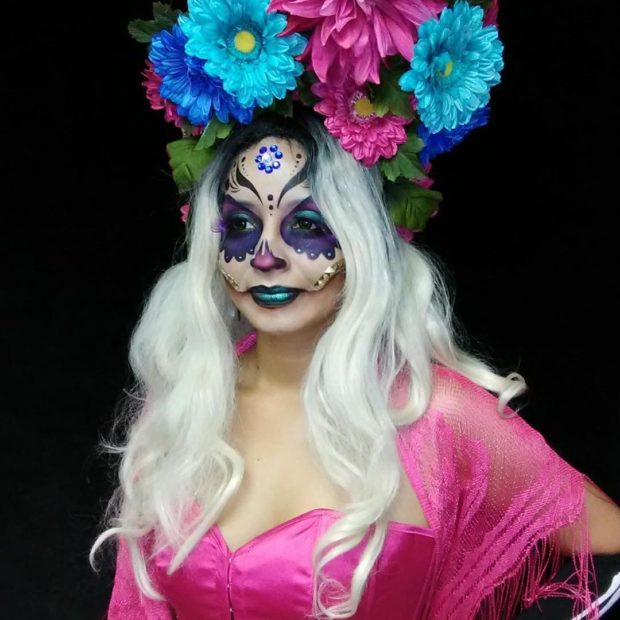
Next, make the entire eye area bright by mixing teal eyeshadow around the whole eye, into the socket, and then the crease. Here you can opt for an electric teal or any other vibrant blue colour. To enhance the dimension of the look, include a teal colour at the corners of the eyes and smear metallic cobalt bold blue underneath the eyes. Note that there are many ways to recreate eye sockets such as keeping it bold and colourful-which is more glamorous than a ghoul. The day of the dead is a celebration after all!
5.The Brows
Rich brows have been a frequent topic on the runaways, and this is the best opportunity to try the trend. First, brush the white foundation into the eyebrows using a clean mascara wand. This helps blend them into the roots and come up with a damp surface for the hue to stick to. Next step, use ward to brush the accents of purple eyeshadows and matte blue over the brows.
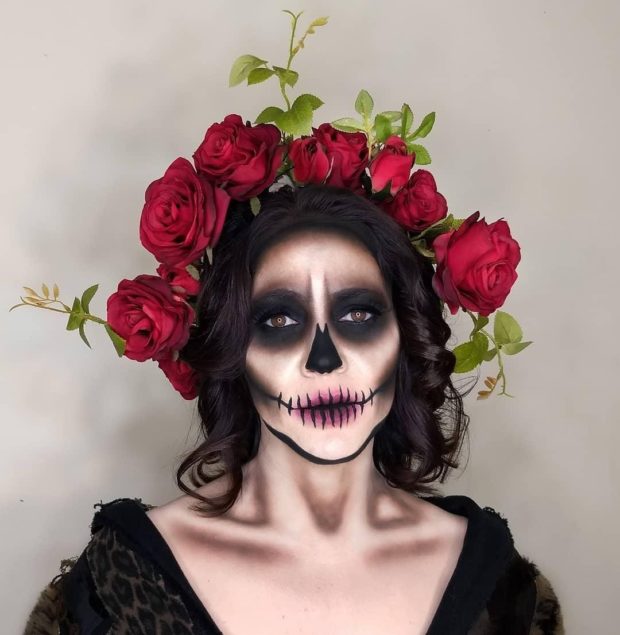
6.The Petals
You can choose to spend your whole day creating the outlines of the flower petals using an, or you can choose to adopt this trick here: using a flat eyeshadow ward, ‘rubber stamp’ the shade on. Begin above the brows, following the arc, concurrently stamp two or three petals, going back and forth from right eye to left. That gives you more direction, so the circles are more symmetrical.

7.The Petals
This is how the flowers should appear once the colour is pressed in around the eyes. At this point, the glitter gives the sugar skull makeup a more real sugar. To begin, spritz the face with a setting spray. It provides the glitter with a firm ground to stick to and help to hold and set the makeup you have applied. You can opt to use the same brush you used to create the petals to press the glitter on the shadow, but be warned: it is not always like taking a walk in the park to get glitter from using a makeup brush. A cotton swab or a sponge-tipped applicator can work better.
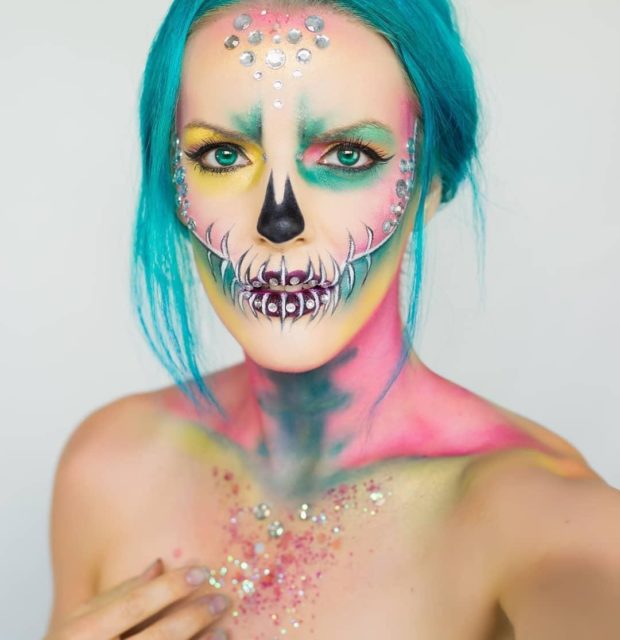
8.The Cheeks
After amassing a few dashes throughout the face for a confetti-like impression, apply taupe powder underneath the cheekbones and to the jawline. Rather than applying or sweeping it upward, drag the shade down in a lowercase shape to give the cheeks a hollower look.
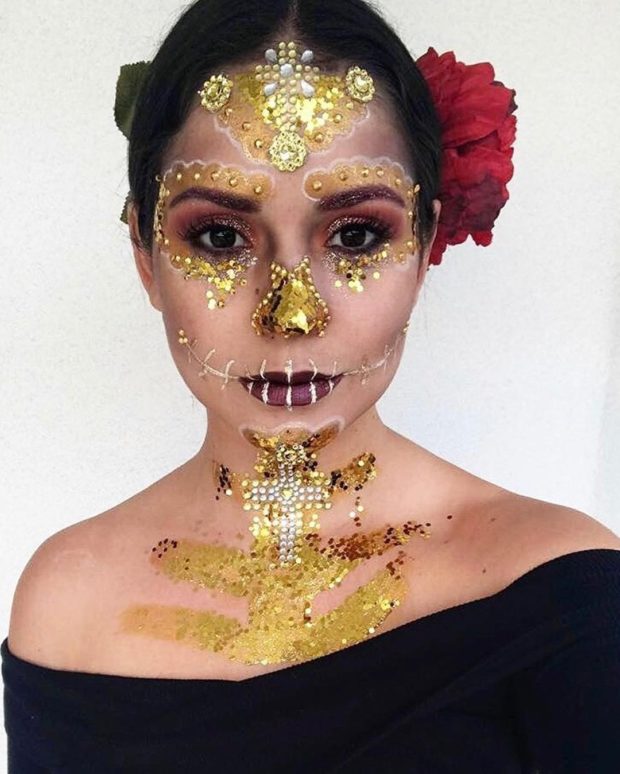
9.The Details
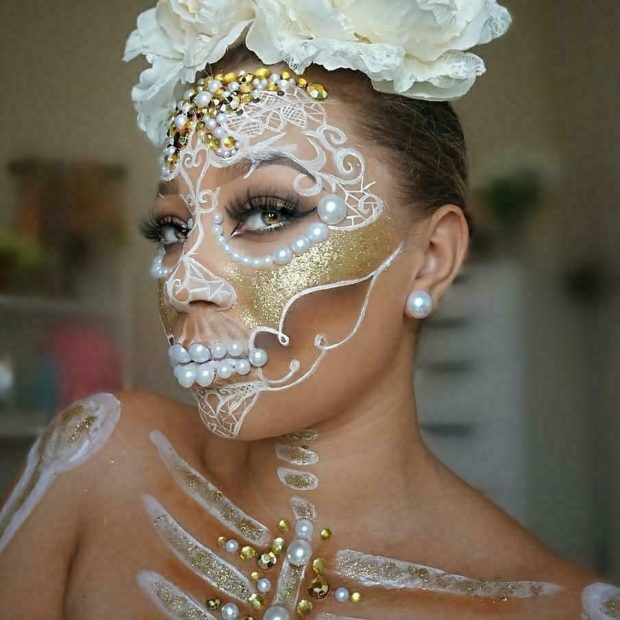
Nothing incorporates an instant glam like crystals. To follow jewels or rhinestones, utilise the handle of an eyeshadow ward to dab clear lash adhesive unselectively onto the face. Wait for a few seconds for the glue to turn clear and become sticky. Then put the jewels on the sticky glue using fingers or a pair of tweezers for a more on point application.
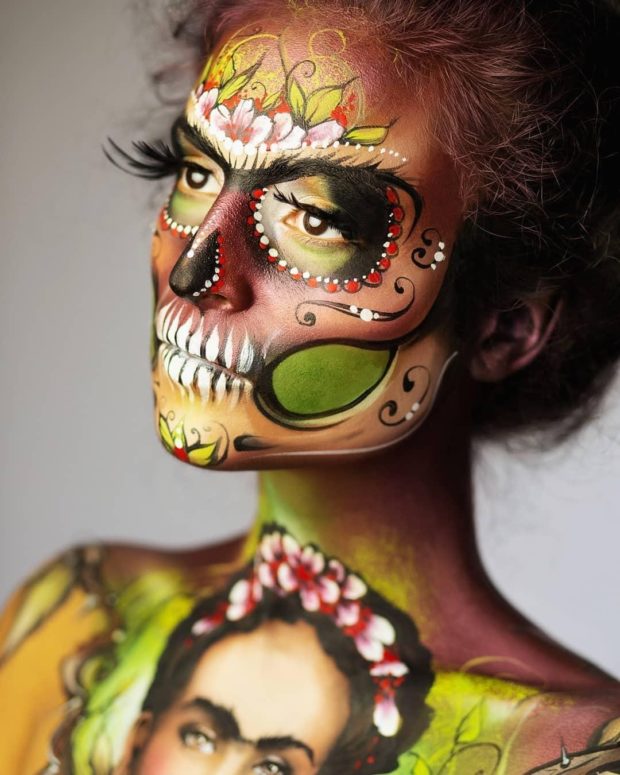
10.The Nose
Use a small eyeshadow brush and the same hint you utilised for your brows, draw a heart upside down over your nose. Intensify it with a metallic blue or black layering on the top.
11.The Mouth
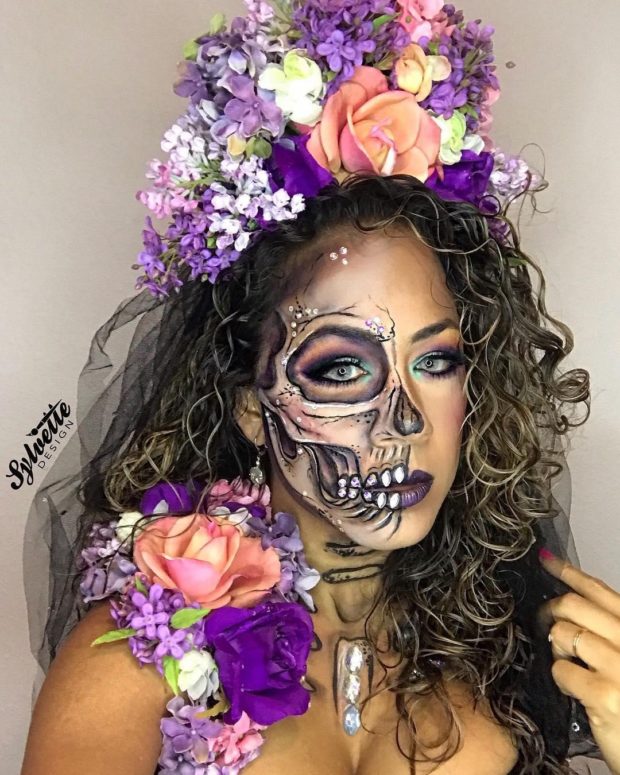
To achieve an overdrawn frown, start by tracing a smooth brown lip liner outside your lips. That will guide you. Next, create some cracks in the ‘bone’ around your mouth by a liquid eyeliner. Ensure that the lines at the corners of the mouth are extended further. This gives the sugar skull makeup a skeleton-like appearance.
12.The Mouth
Upgrade the eeriness by dusting the dazzling grey shade you applied on your eyes inside the middle of your lips. Remember to apply the hue with the lips closed, so the product doesn’t find its way into your teeth.
13.The Mouth
Lastly, for the excellent finishing texture use red lipstick. Apply the shade between the black lines using a lip brush. Avoid the use of a gloss, which makes the black lines smudge. Then gently press the red glitter onto the lips. Finish the style by retracing the lines which are ‘cracked’ using a black eyeliner.
14.The Finished Look
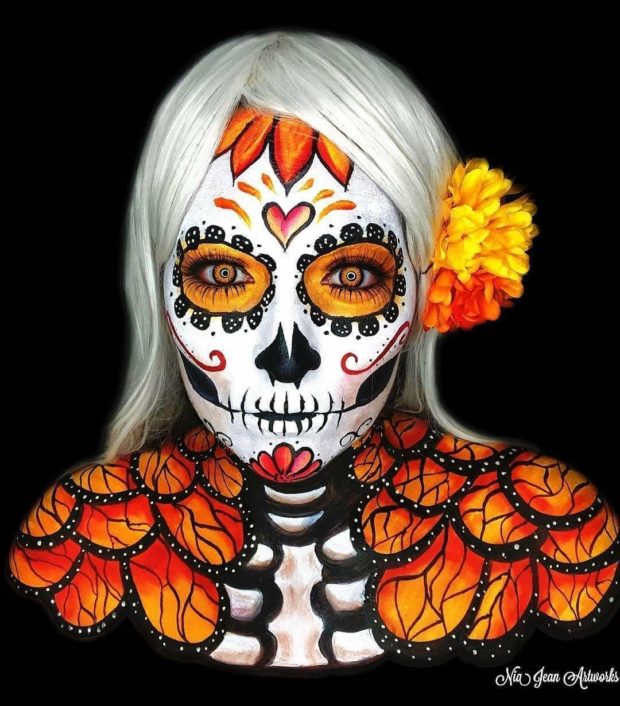
And at last, there you have your full sugar skull makeup. A shimmering sugar skull that is equal parts sweet and spooky. For an enhanced stunning finish touch, throw some roses with a holding spray from an art and craft room and blend them in glitter.

