After finding your perfect home, securing a mortgage and moving all your worldly possessions to the new address, you could be forgiven for thinking the hard work is over. Sadly many homes require significant ‘love’ and DIY fixes to get them looking their best and providing a perfect setting for family life. Here we look at five DIY fixes, every new homeowner needs to know.
Replacing Washers in Taps
A dripping tap in the sink or bathtub can be incredibly annoying and a huge source of wasted money. Whilst many people ignore this problem or call out a plumber, a dripping tap is often caused by a worn washer – which can be replaced quite simply.
Immediately turn off the water at the mains and remove the top of the leaking tap. Inside the tap should be a cartridge (similar in appearance to a golden chess piece) which can be removed with the help of a screwdriver.
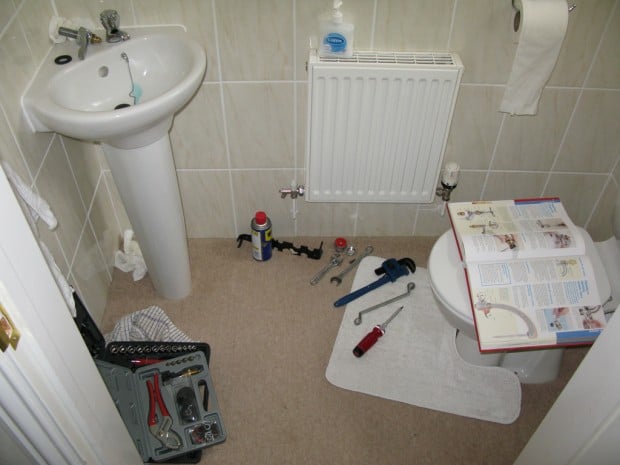
Image via Flickr
Take this cartridge to your local plumbing merchant, who will be able to identify the type of cartridge and locate the required replacement washer and show you how to affix it.
Screw the cartridge back into the tap, replace the top of the tap and turn the water back on at the mains.
Cleaning White Units
From washing machines and dishwashers to baths and sinks, the white units and fixtures in the home are often prone to staining over years of use. These stains can be incredibly unsightly and spoil an otherwise picture-perfect clean setting. Store-bought cleaning products can be inconsistent in the results they produce, but there is a simple home-made recipe which can be used.
Mix equal parts cream of tartar (potassium bitartrate) and baking soda with just enough lemon juice to create a paste and rub this mixture onto the offending stain and leave for two hours. Rinse the mixture off and the stain should be lifted.
Unsticking Rusted Nuts and Bolts
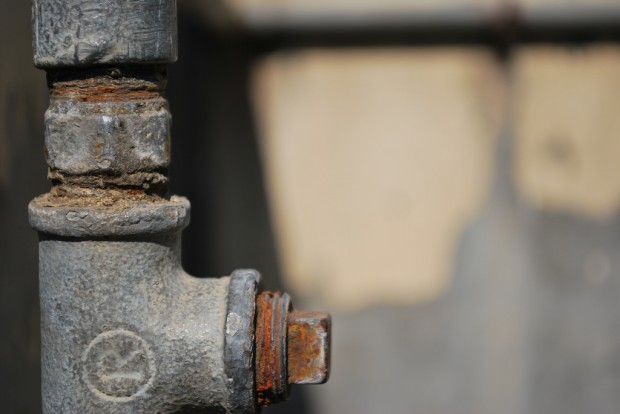
Particularly prominent in older properties with aging furnishings and fittings – rusted nuts and bolts can be an eyesore and incredibly difficult to remove. Often elbow grease and physical exertion will not suffice when trying to remove the rusted nuts and bolts, so a little outside help is required. Soak the rusted nut or bolt in a high strength lubricant for an hour before trying to remove again.
Image via Flickr
If this does not work, more extreme action may be required. A blowtorch set to a low flame can slowly heat the metal of the nut or bolt, forcing it to expand slightly. Wait for the fitting to cool down after heating and then remove. It is important to use protection during the process – Manchester Safety Services stock professional-standard protective clothing for home use.
Removing Broken Bulbs
If the previous homeowner has fitted cheap light bulbs or simply screwed them in too tight, removal may be difficult and prone to causing the bulb to crack and break. If the bulb cracks and breaks, it can be difficult and dangerous to remove.
Fortunately, there is a simple method to help remove the broken bulb. Simply take a large, raw potato and cut it in half across the width. Take one half in your hand and push the flat surface over broken edges of the bulb. Once the potato has got a good grip over the broken bulb, twist and loosen the bulb. Make sure you wear protective gloves during this process.
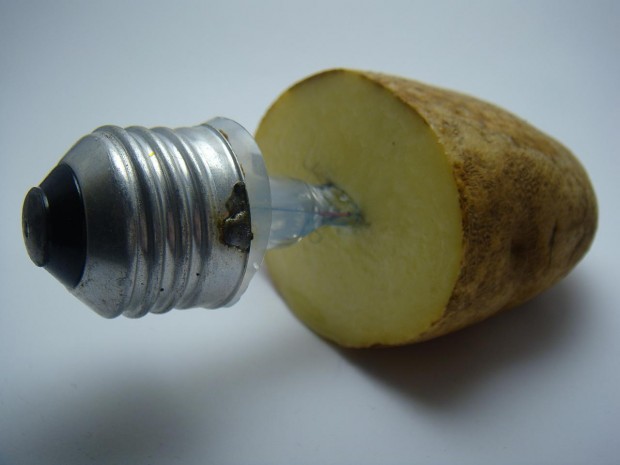
Image via Flickr
Removing Stripped Screws
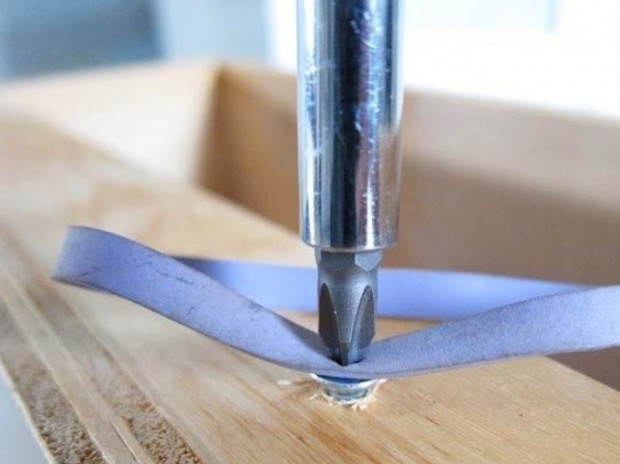
Similar to rusted nuts and bolts, it can be incredibly difficult to remove screws which have become stripped and lost their integrity. There are a couple of techniques to help remove the offending screws, depending upon the tools available to you.
If you have an electric drill with a drill bit a similar diameter to the screw, simply drill through behind the screw to loosen and free the fitting. However, if you do not have the correct drill kit or do not want to drill through the furnishing – this screw extractor kit from Screwfix can help you get a grip on the screw and free it.

